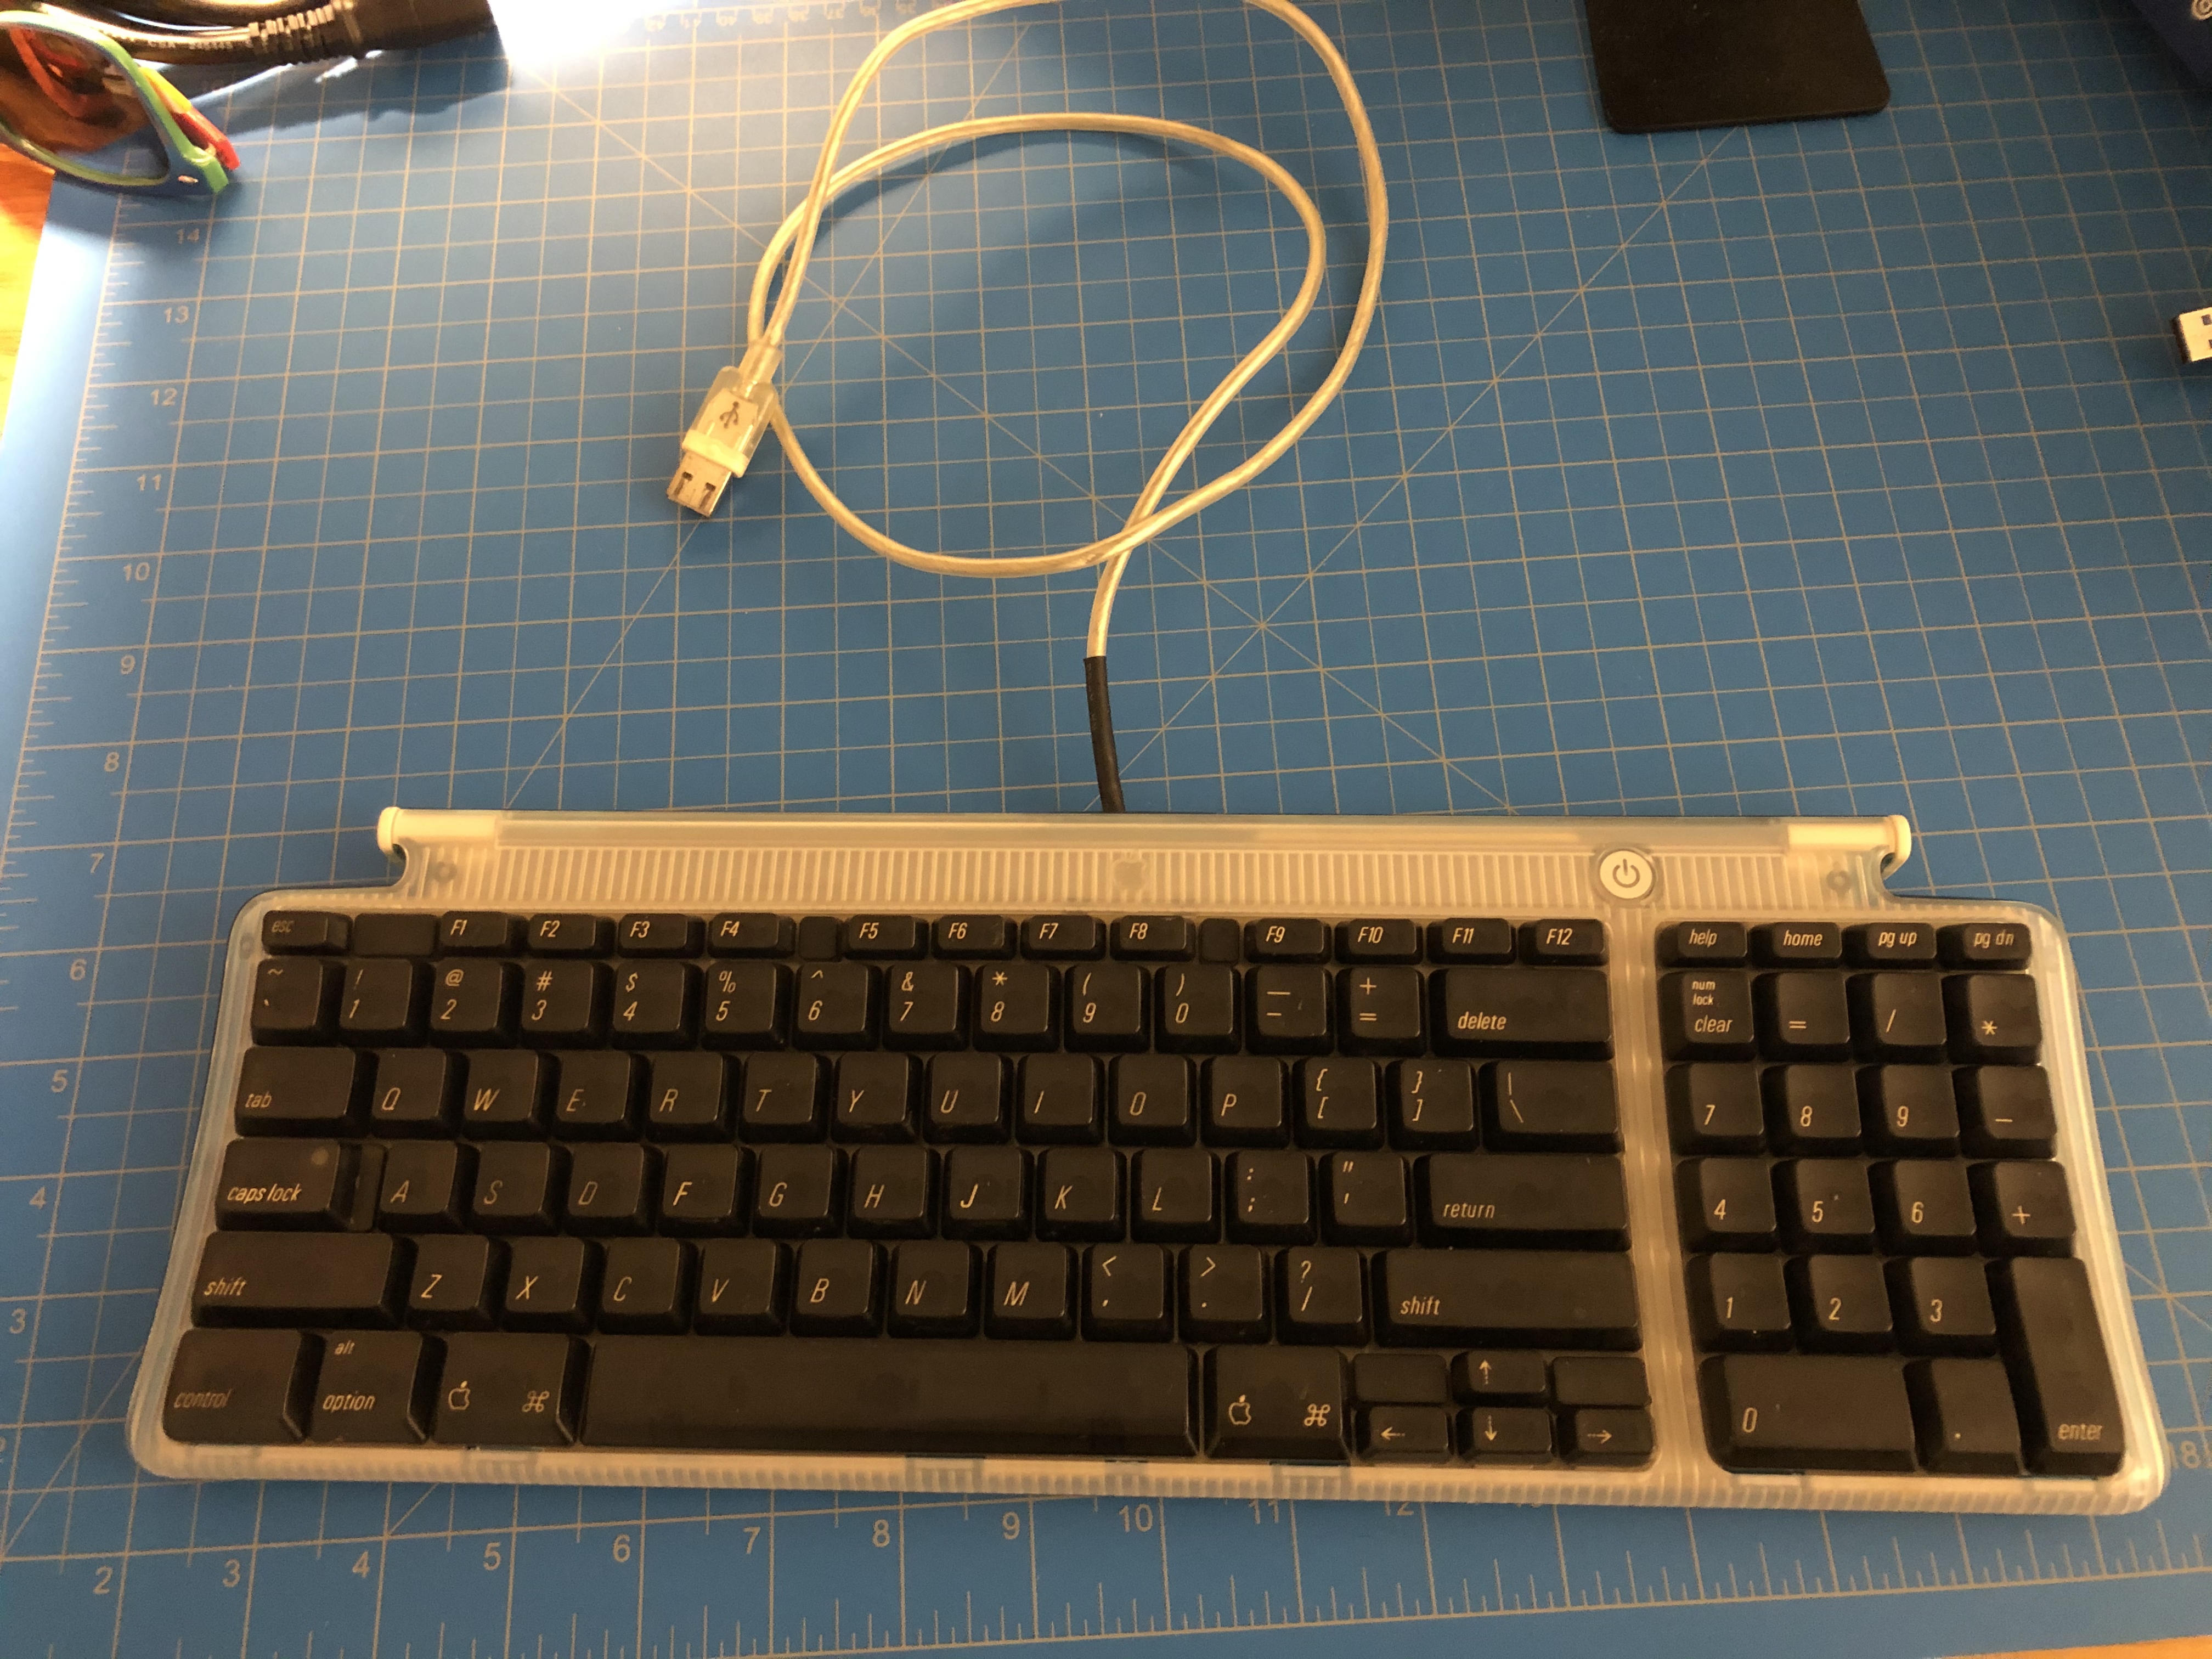

When I was in middle school, I was able to salvage an M2452 Mac keyboard made in 1998 from a surplus pile. After many years of service as my primary mechanical keyboard, it started to show some wear. This particular type of mechanical keyboard was hard to clean and had no strain-relief for the USB cable on the back. Some of the keys stopped working altogether.
I have since found myself with a free Sunday, so decided to see what I could do, if anything, to repair it.
Teardown
The first step in the repair was getting into the plastic casing. On the back of the keyboard are four T2 Phillip’s
screws, two of which had washers.


Next I had to remove the top-plate so I could gain access to the underlying keyboard circuit. This proved fairly difficult, and ended up taking me a little over an hour to remove. I took off several keys from the bottom row of the keyboard to make the clasps at the bottom of the top-plate more accessible. I then used a wedge to gently move the catches from the top-plate down and off the clasps. This allowed me to completely remove the top-plate.


I then exposed the main wiring that concerned me, which was the connection from the main board to the USB.

Repair
First part of the repair was cleaning the keyboard, as the keys had accumulated a lot of dust and dirt. I removed all the keys and then cleaned the entire case.


I had to cut the USB cable and de-solder the connections to the USB controller.


I then stripped the USB cable and re-soldered the connections that had broken. I also replaced the decoupling capacitor (16V, 100uF) next to the power button. Additionally, make sure that ground is connected to the metal parts of the case and the USB connector (as this is a safety feature).


Rebuild
Finally, I tested and reassembled the keyboard with a stronger strain relief.


After doing some testing, the keyboard works like new again!